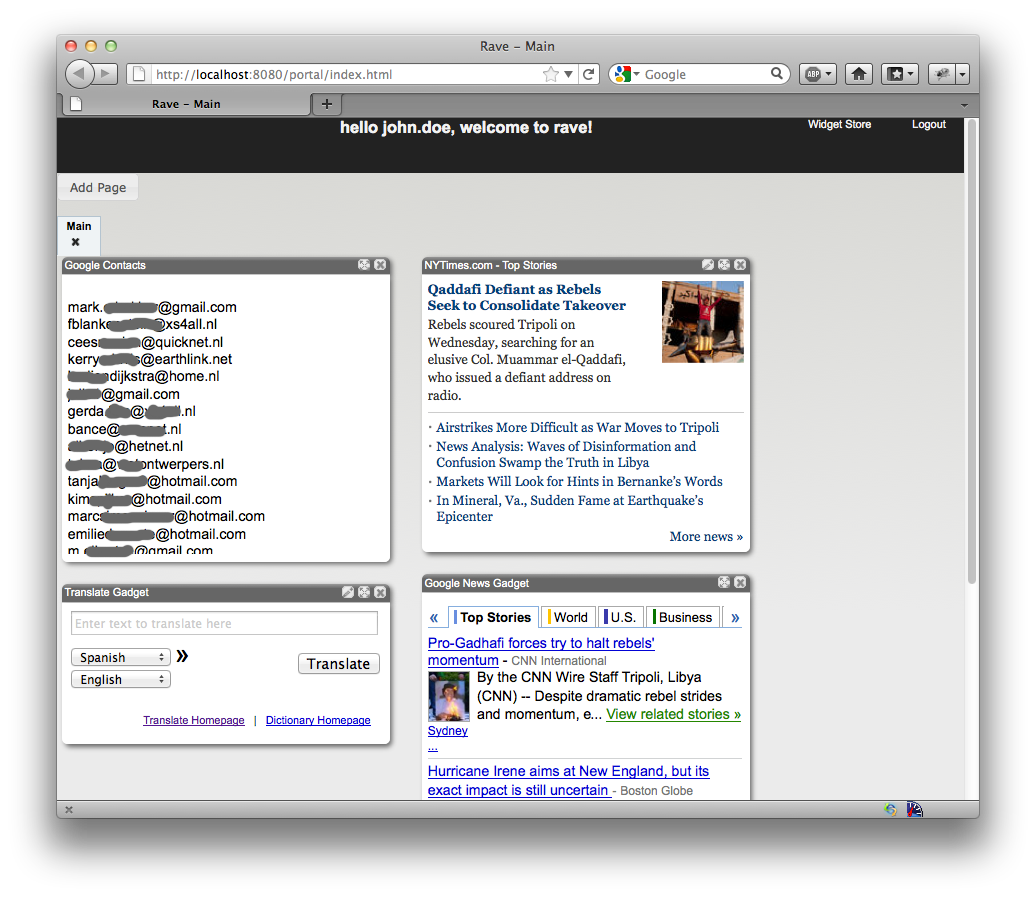
After following the instructions, you will be able to use Rave as an OAuth consumer. You will add an OpenSocial Gadget that displays your Google Contacts, using Google as OAuth provider.
Place the gadget definition on your server
Place the example OAuth Gadget on your own public server. Make sure that the gadget is accessible without any restrictions.
Register your web application
Follow Google's instructions to register your domain for OAuth Authentication. You will create an OAuth consumer key and secret.
Add the OAuth consumer key and secret to the Rave database
Until there is a web interface to handle the contents of the database, modify and execute the following query:
SET @consumer_store_id_oauth = (SELECT seq_count FROM RAVE_SHINDIG_SEQUENCES WHERE seq_name = 'oauth_consumer_store');
INSERT INTO oauth_consumer_store(entity_id, gadget_uri, service_name, consumer_key, consumer_secret, key_type)
VALUES (@consumer_store_id_oauth,
                                'http://example.com/sampleoauth.xml', 'google',
                                'gadgetConsumer', 'gadgetSecret', 'HMAC_SYMMETRIC');
UPDATE RAVE_SHINDIG_SEQUENCES SET seq_count = (seq_count + 1) WHERE seq_name = 'oauth_consumer_store';
- gadget_uri: URI where the gadget definition is hosted
- service name: this value should match the value of attribute name in element OAuth/Service in the gadget definition. In this example the service name is google
- consumer_key: the consumer key the OAuth consumer (Apache Rave) uses for the authentication with the OAuth provider
- consumer_secret: the shared secret between the OAuth consumer (Apache Rave) and OAuth provider
- key_type: allowed values are "HMAC_SYMMETRIC", "RSA_PRIVATE" and "PLAINTEXT"
Add your Widget to the Apache Rave portal
- Go to the widget store
- Click on "Add new widget"
- Enter the required form fields and submit the form
- Go to the admin interface (in the demo setup the 'canonical' user has admin privileges)
- Find the new widget and change its status from "preview" to "published"
Use the Widget
- Go to the Widget Store and add the "Google Contacts" gadget.
- Then go back to your page.
- Click on the link "Personalize this gadget"
- If you are not logged in yet, log in with your Google account
- Click on the "Grant access" button
- You are being redirected back to the portal. You should now see your Google contacts

